This is a guide on how to generate educational videos in Finnish with English and Finnish subtitles. This guide uses Google's Notebook LLM tool to generate the videos.
This guide is split into two parts. Generating the videos and then editing the videos to adjust playback speed and add subtitles.
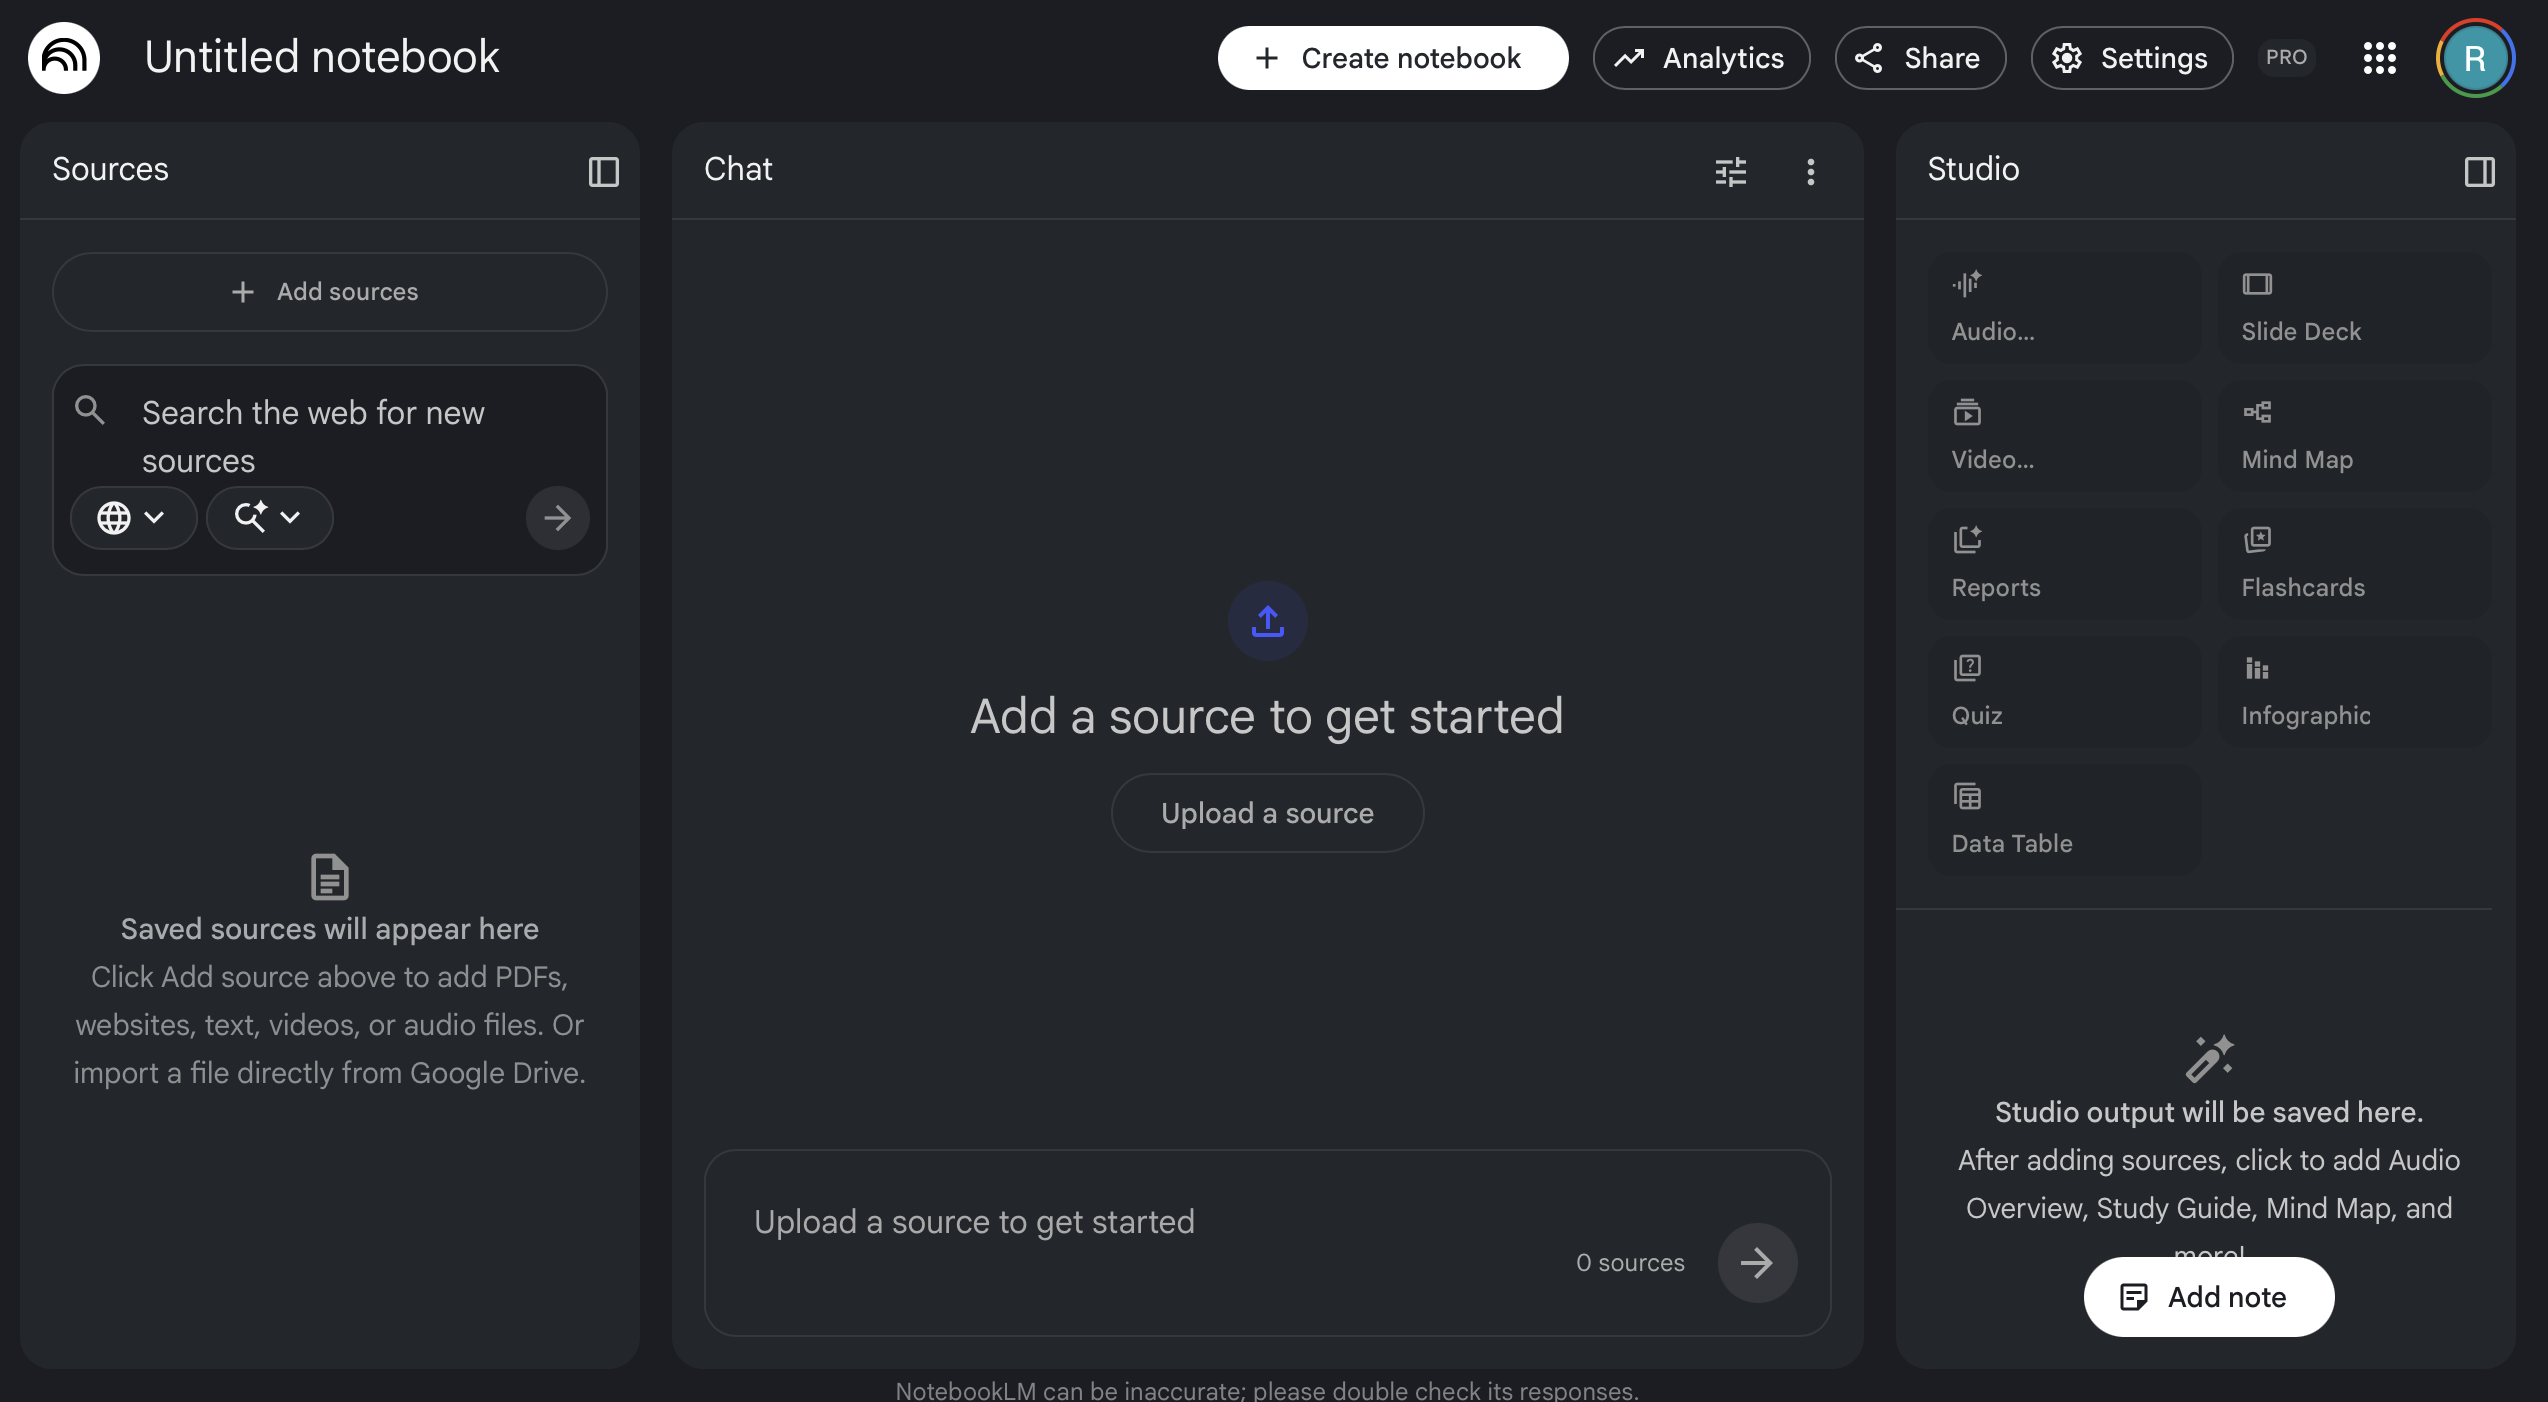
A new notebook has three sections. From left to right these are:
Sources
The section where different materials can be uploaded. Notebook supports a large variety of file formats, so the materials can be lecture slides, videos, textbooks, and many others. It's also possible to add a link to a website as a source
Chat
The window for talking with the model. This window is not relevant when creating videos.
Studio
From this window it's possible to select what kind of content to generate. There are a lot of options here, and I encourage people to try generating other things, but this guide will focus on videos.
Notebook accepts presentations, word documents, videos, and many other file formats. Once the files have been uploaded, it's possible to select which materials Notebook uses to generate the video. Below there are lecture slides in PDF format and an mp4 video.
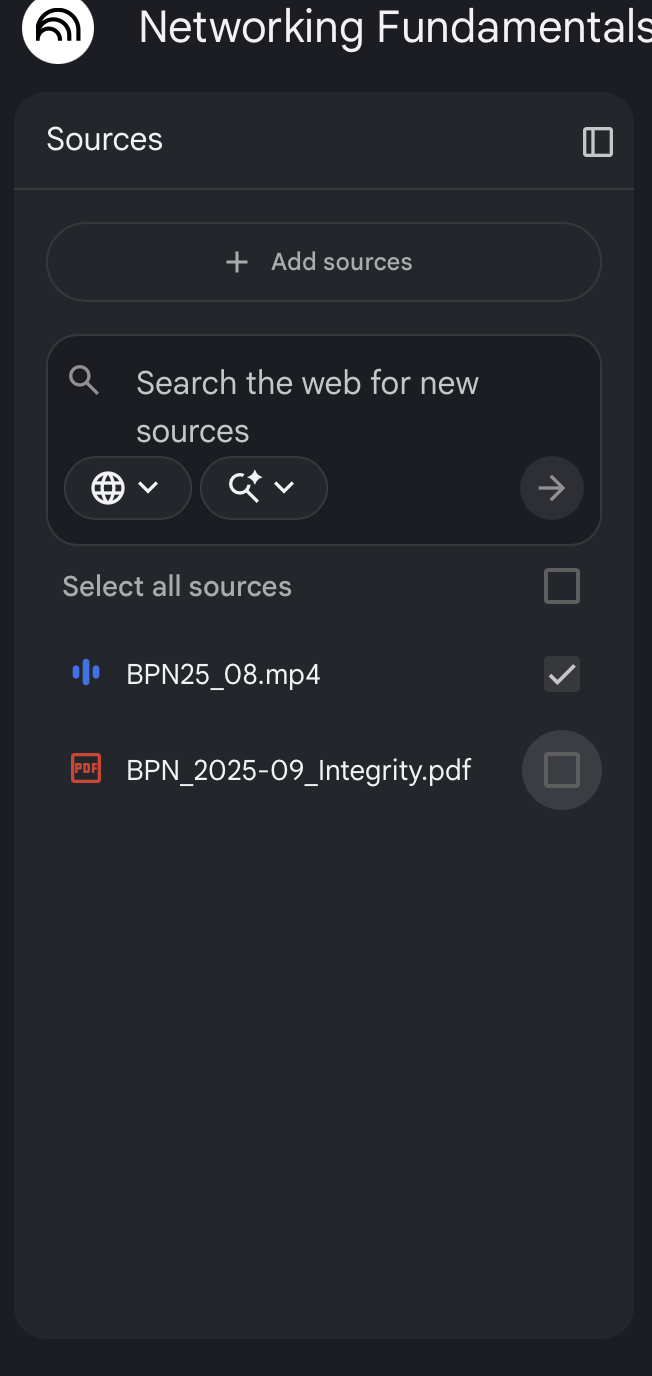
Notice that only the video has a check next to it. This means that the source is currently selected. When Notebook generates a video, it will only use the selected materials to create it, so by selecting certain materials it's possible to narrow down on what the video will focus on.
In the studio section, press the video button and a window will appear where it's possible to specify the following things:
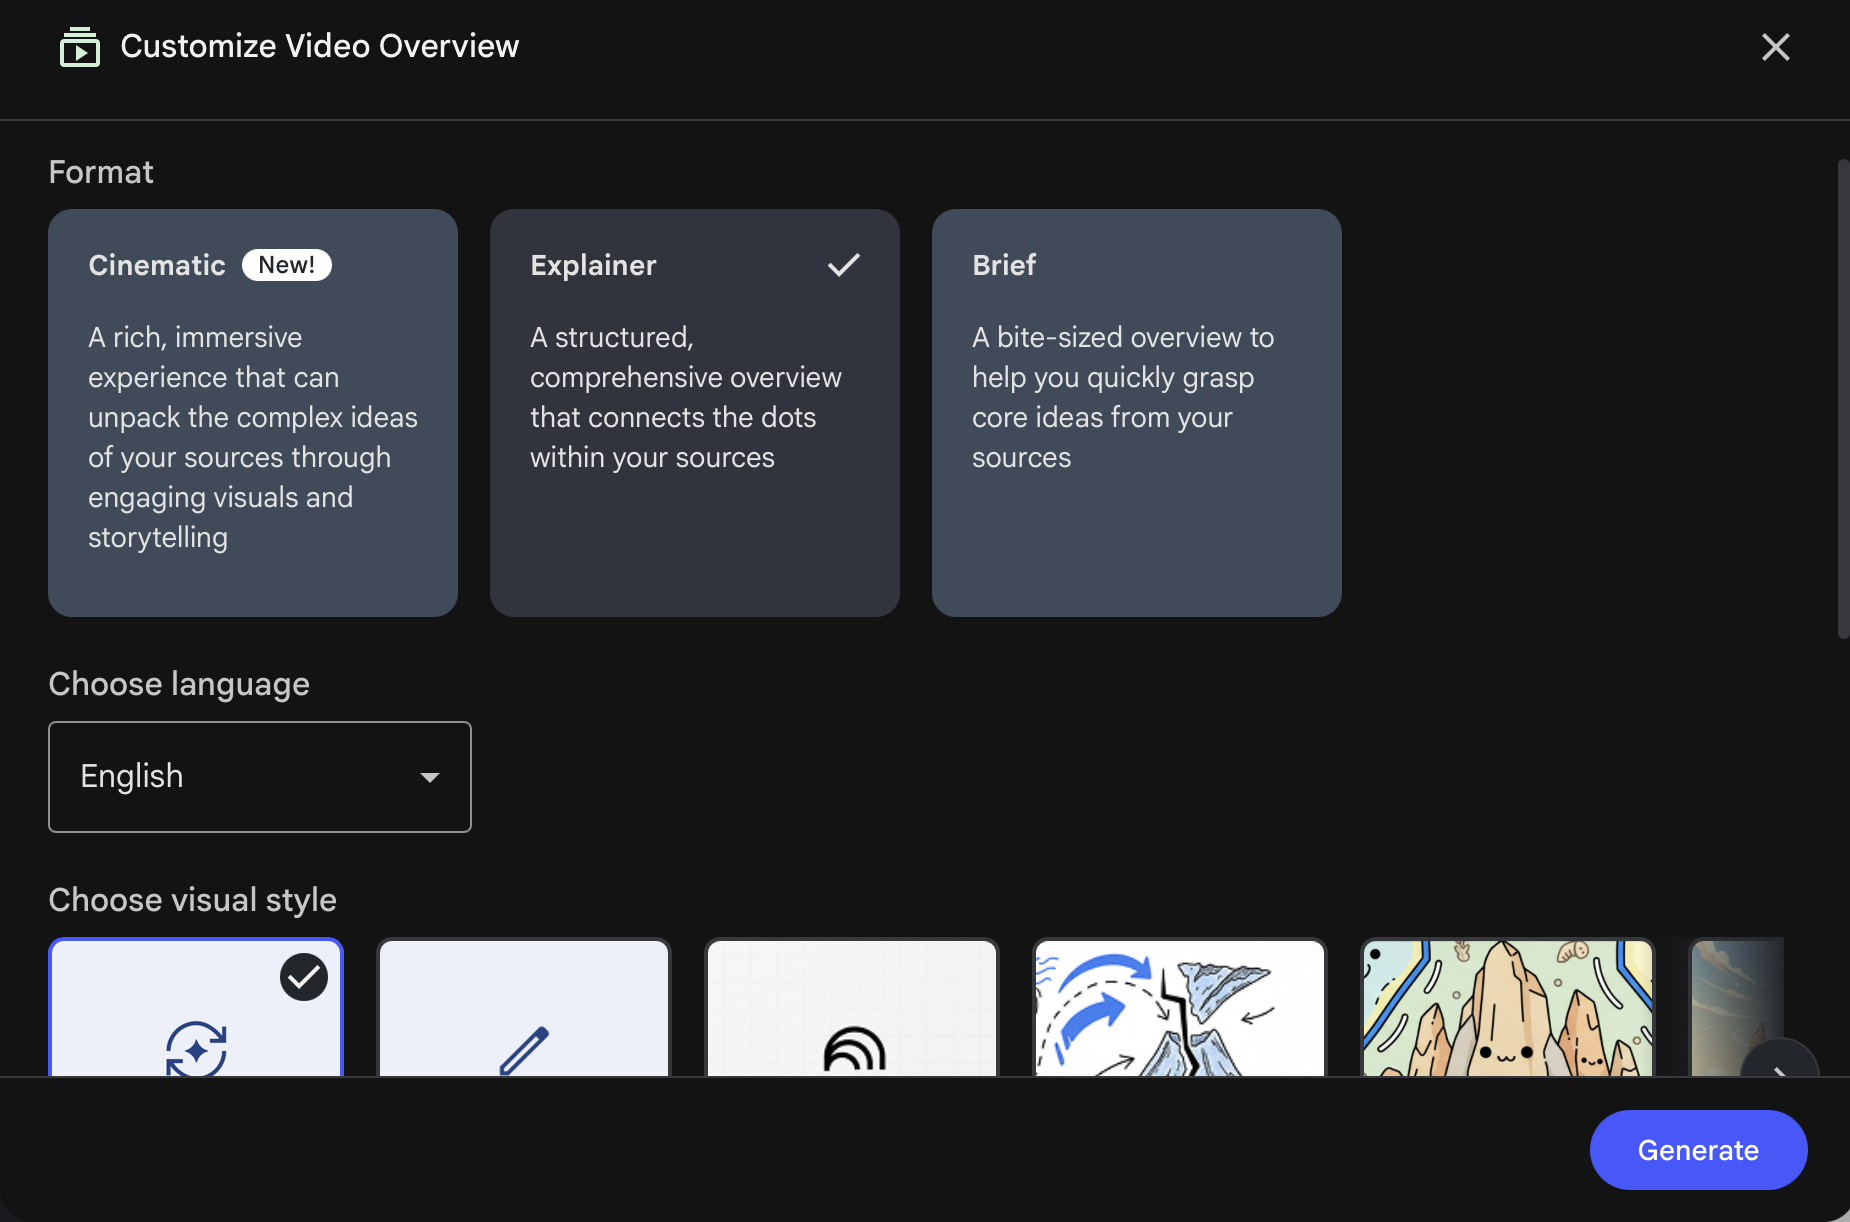
Format
I recommend picking the brief option, it creates good short explanations of complex topics.
Language
Choose which language the generated video should be in
Visual style
Pick a style for the video. Usually the auto select gives a look that is similar to Youtube explainer videos
What to focus on
The text box here is where it's possible to give prompts that will instruct the model on what kind of video it should generate. Prompts can, for example, specify a certain topic, ask the narrator to avoid certain phrases, or change the voice of the narrator. These prompts don't always have the desired outcome but with a bit of trial and error it gets close to what was intended in the prompt
Once all the settings have been set the video can be created by pressing the generate button. Generating the video will take a couple of minutes and once it's done it can be downloaded.
I used the ffmpeg command line tool to edit the videos. You can download ffmpeg from here.
The speed at which the AI narrator talks is a bit too fast in my opinion, so these additional steps help by slowing down the video. Navigate to the folder where you have saved the video you want to edit. The speed of the video can be changed with the following ffmpeg command:
''' ffmpeg -fflags +genpts -i originalvideo.mp4 -filter:v "setpts=2.0*PTS" -filter:a atempo=0.5 outputvideo.mp4 '''
The above commands creates an output.mp4 video that is the same as the originalvideo.mp4 but with the speed of the video halved. By adjusting the values in "setpts = X * PTS" and "atempo = Y" the pace of the video can be changed. Be aware that the setpts and atempo changes should match each other so that Y = 1/X. For example, if the video should be slowed down by 10% then these would be the X and Y values:
''' "setpts=1.1*PTS" -filter:a atempo=0.91 output.mp4 '''
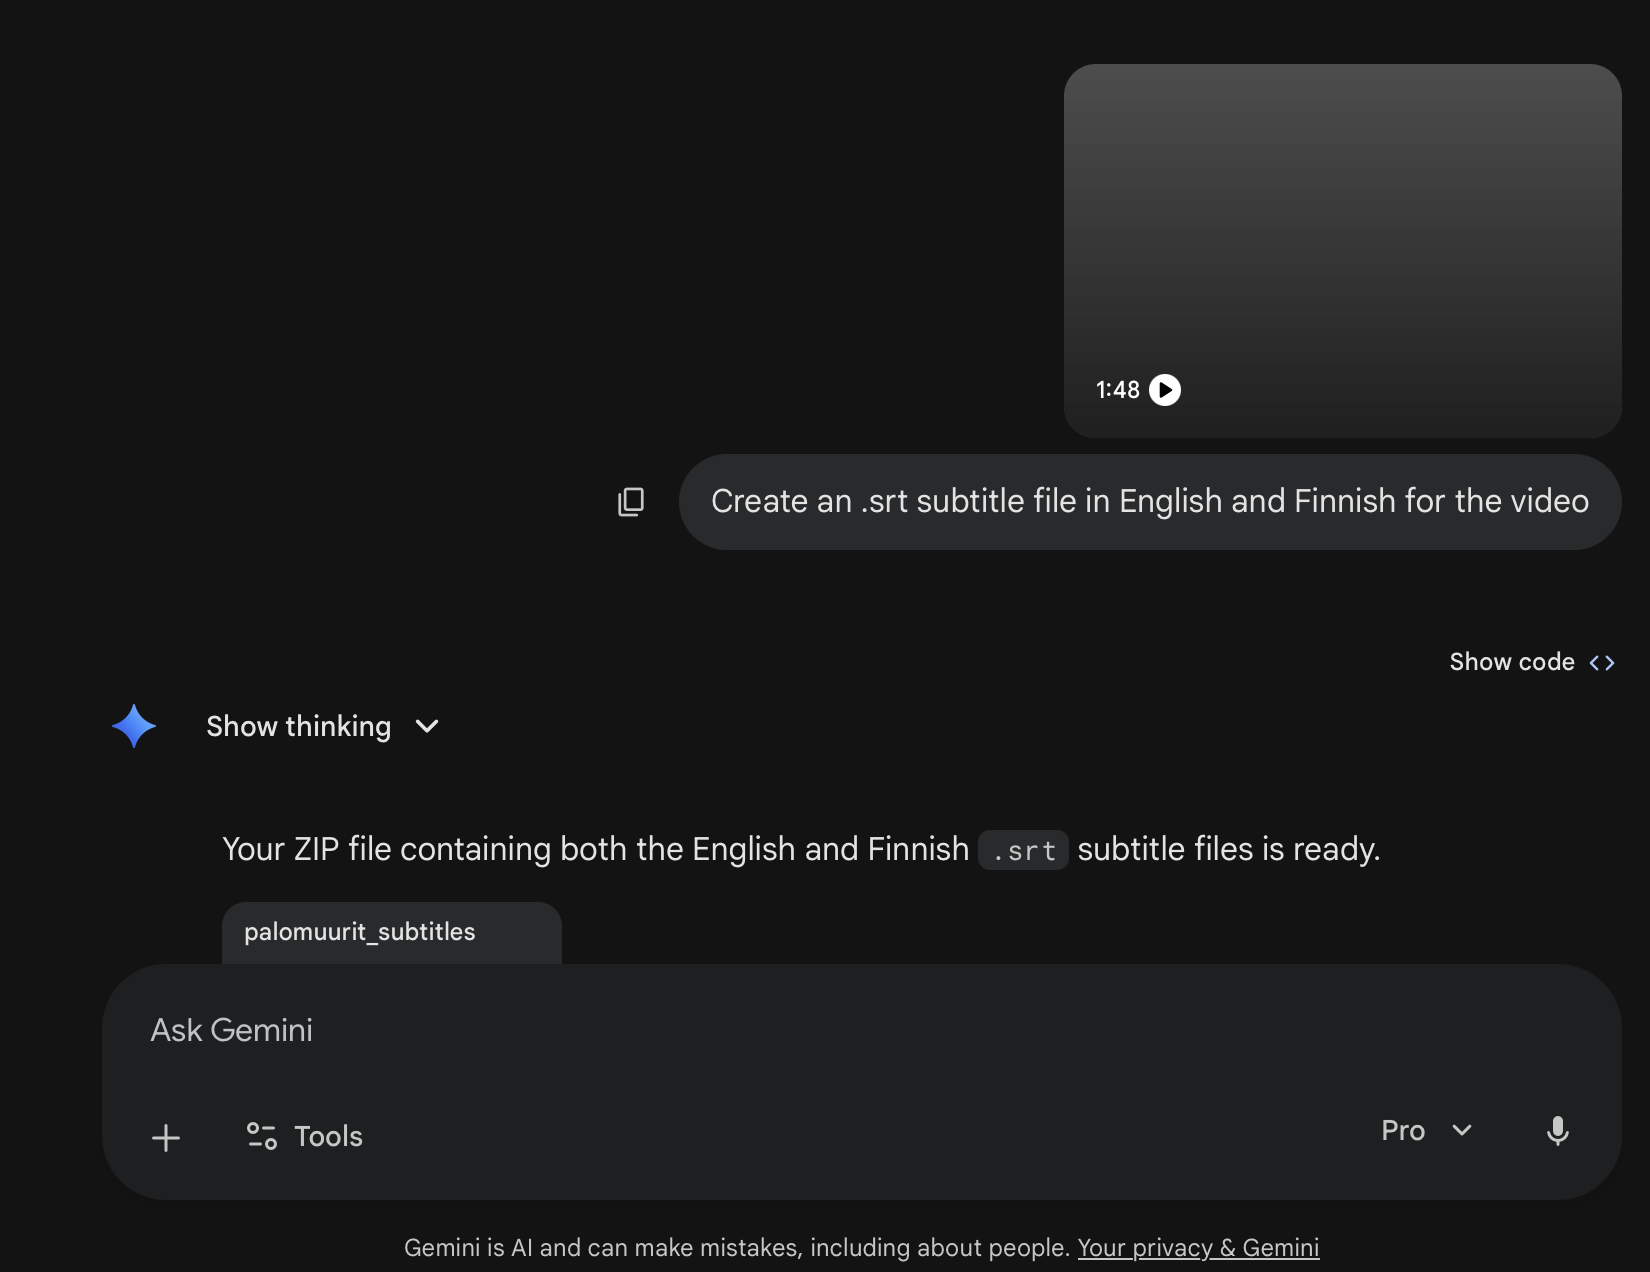
To add subtitles, you need to create a .srt file. This file type is used for subtitles and is essentially a text file with timestamps which are used in order to display text at the correct moment in the video. To create a .srt file, upload the generated video to Google's Gemini and ask it to create an .srt file for the video in English and Finnish. You can upload files by pressing on the + sign at the bottom right of the chat.
Move the srt file and the video to the same folder. Then run the following ffmpeg command to add subtitles:
''' ffmpeg -i video.mp4 -vf "subtitles=subtitlefile.srt:force_style='FontName=Helvetica,FontSize=14,PrimaryColour=&H00FFFFFF,OutlineColour=&H000000,BackColour=&H32000000,BorderStyle=1,Outline=1.5,Shadow=0,MarginV=10,Alignment=2'" -c:a copy videowithsubtitles.mp4 '''
Let's break the command down so we know what each part does:
Below you can find an example video created for Aaalto's Basic Principles in Networking ELEC-C7420 course
If you have any questions you can email me at ruusrai@proton.me